How to Do Pumpkin Carving
As the fall season approaches, everyone looks forward to Halloween. One of the most exciting parts of this festival is pumpkin carving. It’s not just a fun activity, but also a great way to hone your creative skills and make your home look festive. However, if you’re new to pumpkin carving, it can seem like a daunting task. Fear not! In this blog post, we will cover everything you need to know about pumpkin carving – from selecting the perfect pumpkin to preserving your masterpiece for as long as possible. We will also provide helpful tips and techniques to ensure that your pumpkin carving experience is enjoyable and successful. So, get ready to impress your friends and family with your newfound skills!

Getting Started with Pumpkin Carving
Choosing the best pumpkin is crucial for a professional halloween pumpkin carving. Essential tools include a serrated knife and kit, and a clean, well-lit work surface is vital. Marking an outline on the gourd and using a marker for intricate designs are simple tips to begin.
Choosing Your Pumpkin: Factors to Consider
When selecting your halloween pumpkin, ensure it has a flat bottom for stability, a sturdy stem for freshness, and firm skin without soft spots. Opt for a light color, smooth gourd free of mold or bruises. Applying these simple tips when choosing the best pumpkin at the grocery store ensures a successful carving experience.
Essential Tools for Halloween Pumpkin Carving
Efficient pumpkin carving requires the right tools. Use a pumpkin carving set, scraper, and metal spoon for pulp removal. For intricate designs, employ a kitchen knife, paring knife, or carving tools. Tap gently with a rubber mallet for controlled carving and use an ice cream scoop for large gut sections. Consider a small hole saw cutter or cookie cutter for precise details.
Preparing Your Pumpkin for Carving and Scoop
Prepare your halloween pumpkin by scraping the inside walls to a 1-inch thickness. Cut the lid at an angle to prevent it from falling in. Preserve the pumpkin with petroleum jelly, bleach, and a paper towel to absorb moisture. These simple tips will ensure the best pumpkin for your halloween party.
How to Clean Out Your Pumpkin Effectively Diy
To effectively clean out your pumpkin, use a large spoon to scoop out the pulp, seeds, and stringy fibers. Styrofoam balls can smoothly scrape the inside walls, and a tea light enhances the carving effect. An ice cream scoop efficiently removes tougher sections, while a toothpick outlines intricate designs for precision carving.
Important Tips for Cutting and Shaping Your Pumpkin
When carving, maintain uniform depth by applying consistent pressure, and use a sawing motion. Carve from the center outward, vent the lid for moisture control, and avoid large cuts to prevent breakage. These simple tips ensure the best results for your Halloween pumpkin.
Selecting Your Pumpkin Design
When choosing your halloween pumpkin design, seek inspiration from nature, online carving templates, or stencil collections. Select a design that complements the size and shape of your pumpkin for a balanced appearance. Consider implementing simple or complex designs based on your expertise and time availability. Transfer intricate designs using a mold or stencil, and carve varying depths for a unique look.
Sources of Inspiring Pumpkin Carving Designs
When seeking design inspiration for halloween pumpkins, turn to Instagram, Pinterest, and carving websites. Additionally, check out Real simple, DIY, and email newsletters for innovative designs. Visit carving workshops, pumpkin patch events, or community gatherings for more creative ideas. Opt for designs that suit the halloween spirit, autumn theme, or your personal preferences.
Implementing Simple vs Complex Designs
For smaller pumpkins, carve simple designs like basic shapes or stars. Advanced carvers can create intricate patterns or detailed portraits on larger pumpkins using stencils. Choose designs that reflect creativity and skill level, aligning with the pumpkin’s purpose.
The Carving Process
Carve your halloween pumpkin from the top down, securing the lid with toothpicks for best pumpkin preservation. Place it in a cool, dry spot, ensuring a snug lid fit. Enhance your design with simple tips for scraping or carving additional details. After purchasing your gourd from the grocery store, utilize these simple tips to create a masterpiece for your halloween party.
A Step-by-Step Guide to Carving Your Pumpkin
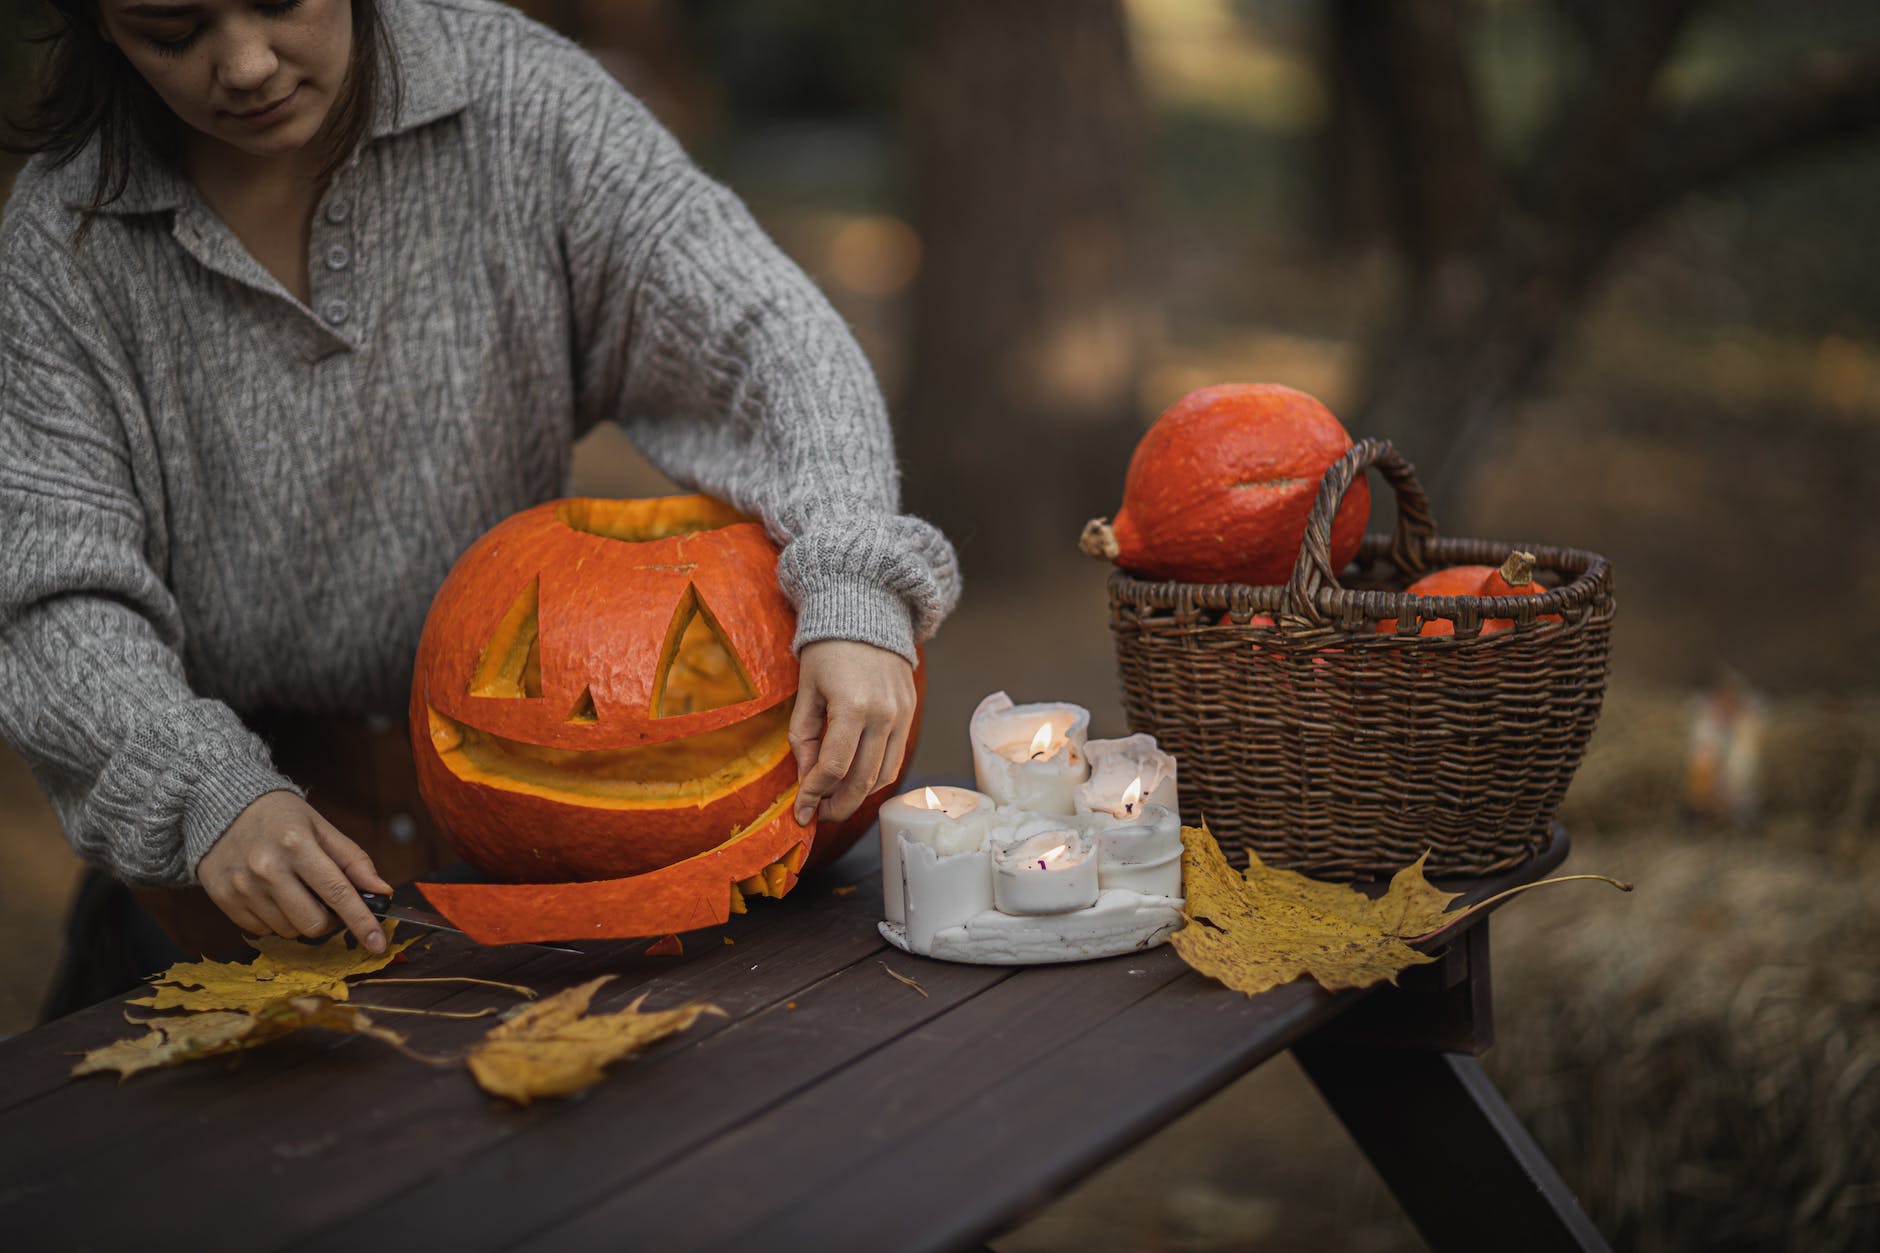
Begin by carefully cutting a hole in the top of your pumpkin to ensure easy access for cleaning. Use simple tips such as scraping the gourd to create intricate designs, and illuminate with a real candle for the best effect. Share your masterpiece at your Halloween party to inspire others.
Helpful Techniques for Precision Stencil Carving
Precision carving requires the right tools, like serrated knives and carving kits. Use a metal spoon or ice cream scoop for efficient pumpkin gut removal. Secure the pumpkin on a flat surface with a rubber mallet and scribe the design before carving. Safely dispose of the pumpkin mold by soaking it in a bleach solution.
Innovative Pumpkin Carving Techniques
Employ cookie cutters to craft unique shapes and designs on your pumpkin surface. Experiment with a paring knife or templates for intricate designs. Carve the bottom of your pumpkin for a different approach. Create pumpkin lanterns by carving small holes or scraping the pumpkin for texture.
Using Cookie Cutters for Unique Shapes
Experiment with various cookie cutter designs, such as stars, moons, or animals, for diverse pumpkin carving. Press the chosen shapes firmly into the pumpkin surface and utilize a rubber mallet to assist in pushing them through the pumpkin skin. This method adds a creative twist to your Halloween pumpkin carving.
The Art of Shaving a Pumpkin for Texture
Enhance your pumpkin carving with skillful shaving using a fine blade. Create depth and intricate designs by revealing different layers. Elevate your carving to the next level with this technique, bringing texture and artistry to your pumpkin masterpiece.
Preserving Your Carved Pumpkin
Preserving a carved pumpkin is crucial for a lasting halloween pumpkin masterpiece. Seal in moisture with petroleum jelly and protect it from rotting by spraying with a bleach solution. Refrigerate or apply a moisture sealant to keep it fresh, display indoors, and periodically add vegetable oil. These simple tips will ensure the best pumpkin preservation.
Effective Ways to Seal in Moisture
To maintain moisture inside your halloween pumpkin, brush petroleum jelly within the carved sections. Preserve your best pumpkin by misting with a water and bleach solution using a spray bottle. Prevent dehydration by applying a thin layer of vegetable oil inside. These simple tips will help keep your pumpkin fresh for your halloween party.
How to Prevent Your Carved Pumpkin from Rotting
To prevent your carved pumpkin from rotting, store it in the refrigerator to slow down the process. Keep it in a cool, dry place when not on display, and minimize moisture by patting the inside with a paper towel. These simple tips will preserve your best pumpkin for your Halloween party.
Displaying Your Masterpiece
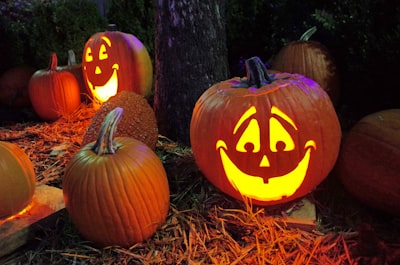
Illuminate your carved pumpkin with a real candle or LED light to enhance its visual appeal. Showcase it at your front porch, windowsill, or entryway to welcome guests, and share pumpkin carving tips with friends and family to spread Halloween spirit. Arrange carved pumpkins to create a stunning display, and embellish them with decorative accents.
Creative Ideas for Lighting and Displaying Your Carved Pumpkin
Achieve a captivating display by nesting your carved pumpkin within a sizeable, sculpted pumpkin lantern. Enhance the visual appeal of your halloween pumpkin with vibrant LED lights. Fashion an outdoor exhibit amidst autumn leaves and seasonal adornments to spotlight your best pumpkin creation.
Have You Tried Any Other Unique Pumpkin Carving Techniques?
If you are Looking to take your pumpkin carving skills to the next level? Try experimenting with carving tools for intricate designs, using cookie cutters for different shapes, or creating a lantern with a carved lid.
Conclusion
In conclusion, pumpkin carving is not just a fun activity but also an art form that allows you to express your creativity. By following the step-by-step guide and utilizing the recommended techniques and tools, you can create truly unique and impressive pumpkin designs. Remember to choose a pumpkin that suits your desired design, prepare it properly by cleaning out the insides, and select a design that inspires you. As you carve, use helpful techniques for precision and consider trying out innovative methods like using cookie cutters or shaving for texture. Finally, preserve your carved pumpkin by sealing in moisture and preventing rotting.
Follow on Instagram.
